Mermaid CI/CD Pipeline Diagram Example
Use this Mermaid CI/CD pipeline diagram example to explain how a code change becomes a production deployment. The flowchart separates build failures, test failures, staging checks, and a manual production approval, making the release gates visible.
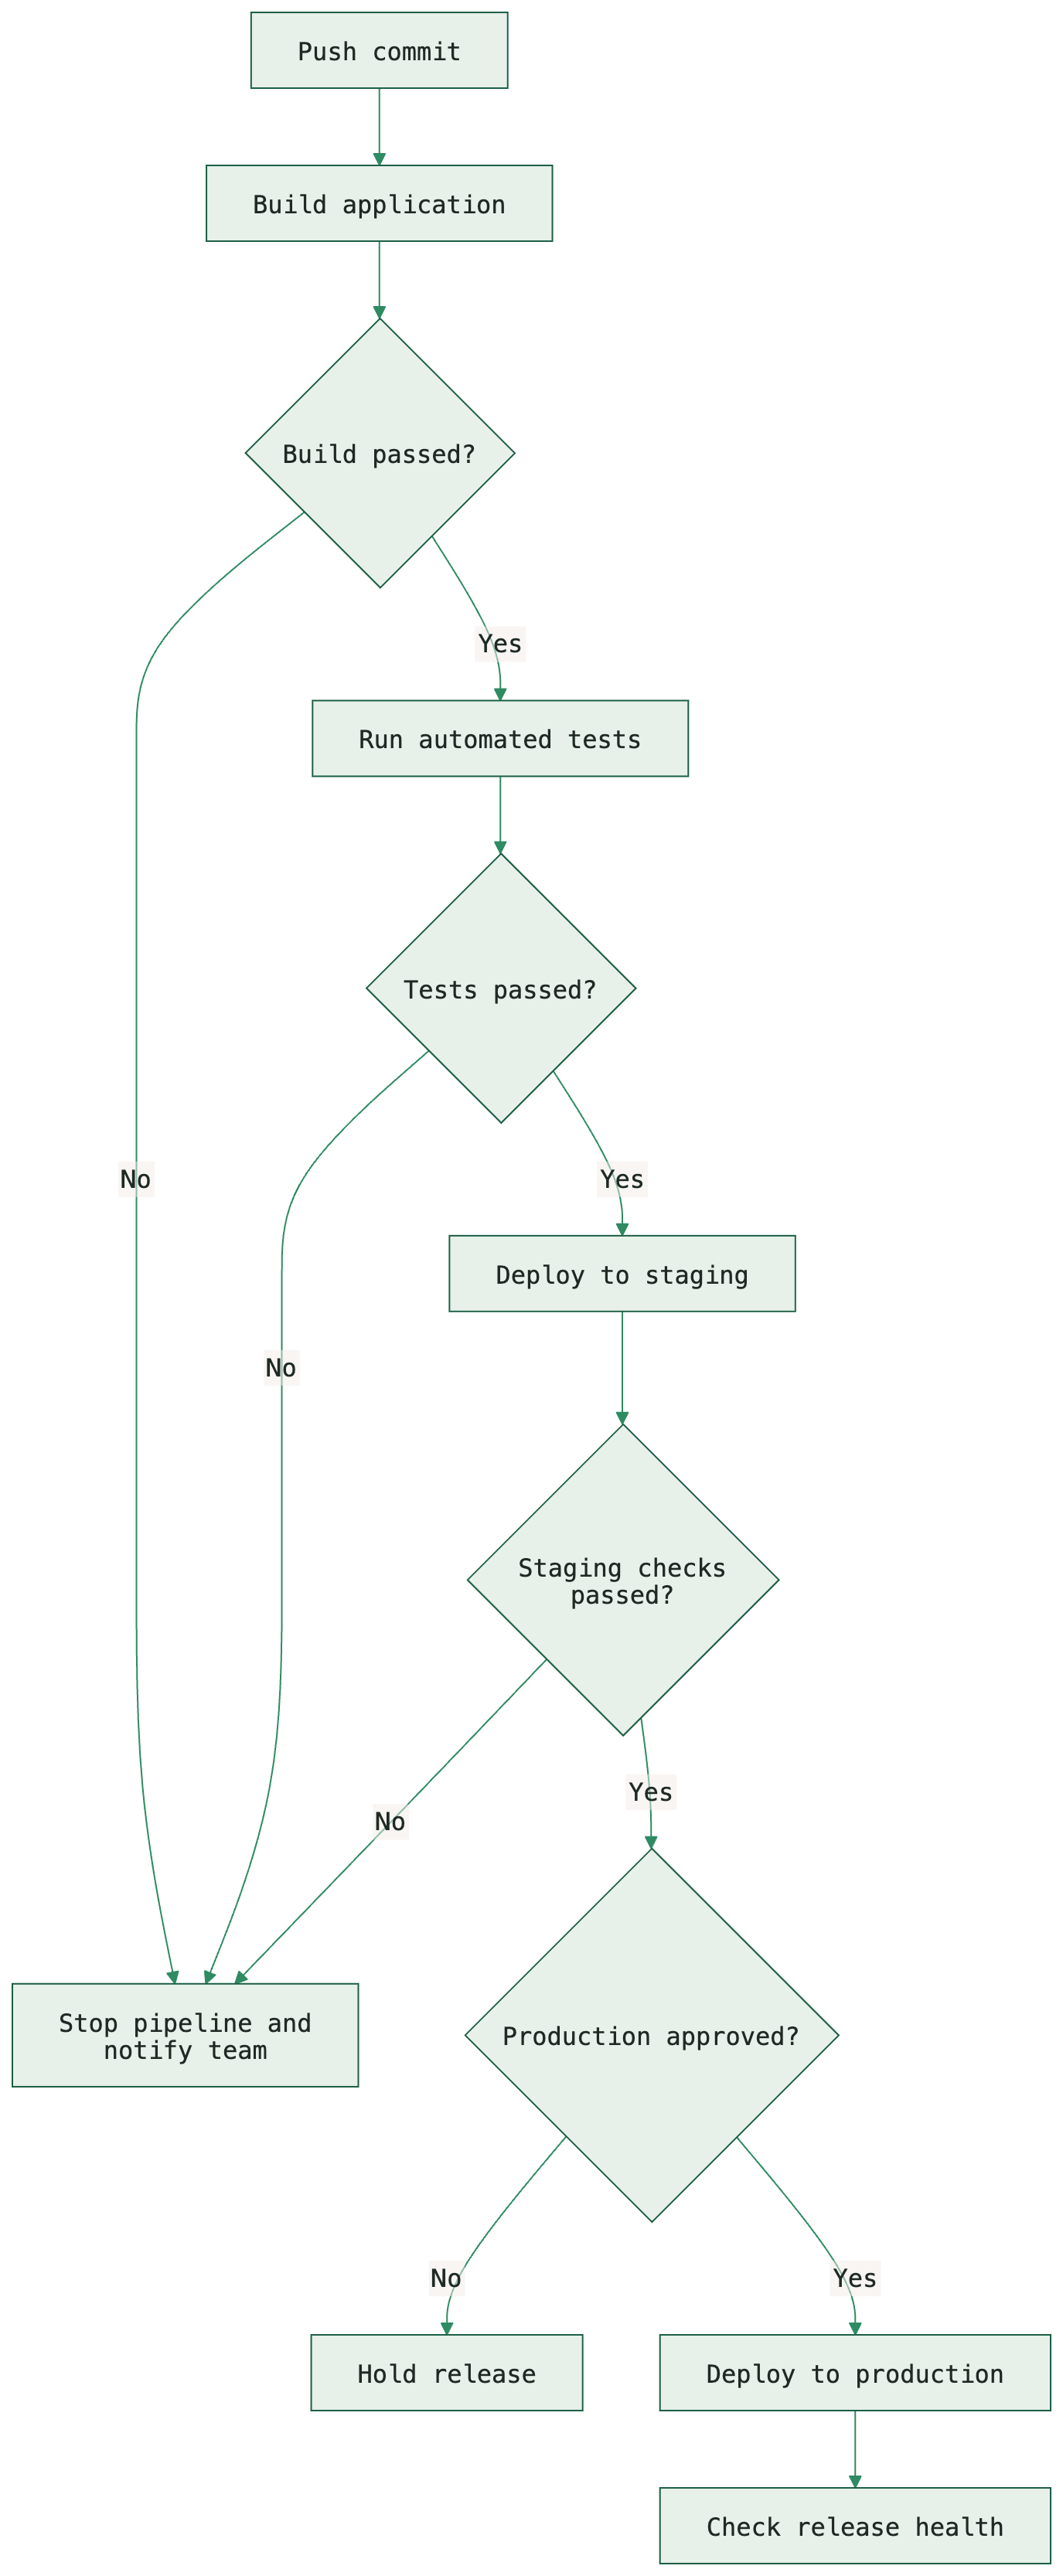
Open the template with its source already loaded, change it to match your workflow, and export in the format you need. Rendering and conversion run locally in your browser.
Copy the Mermaid source
Use this complete source in MarkDone or another Mermaid-compatible editor. Save the source alongside exported files so future changes remain straightforward.
flowchart TD
  A[Push commit] --> B[Build application]
  B --> C{Build passed?}
  C -->|No| X[Stop pipeline and notify team]
  C -->|Yes| D[Run automated tests]
  D --> E{Tests passed?}
  E -->|No| X
  E -->|Yes| F[Deploy to staging]
  F --> G{Staging checks passed?}
  G -->|No| X
  G -->|Yes| H{Production approved?}
  H -->|No| Y[Hold release]
  H -->|Yes| I[Deploy to production]
I --> J[Check release health]Download Mermaid source (.mmd) · Download PNG · Download SVG · Download PDF
How this flowchart works
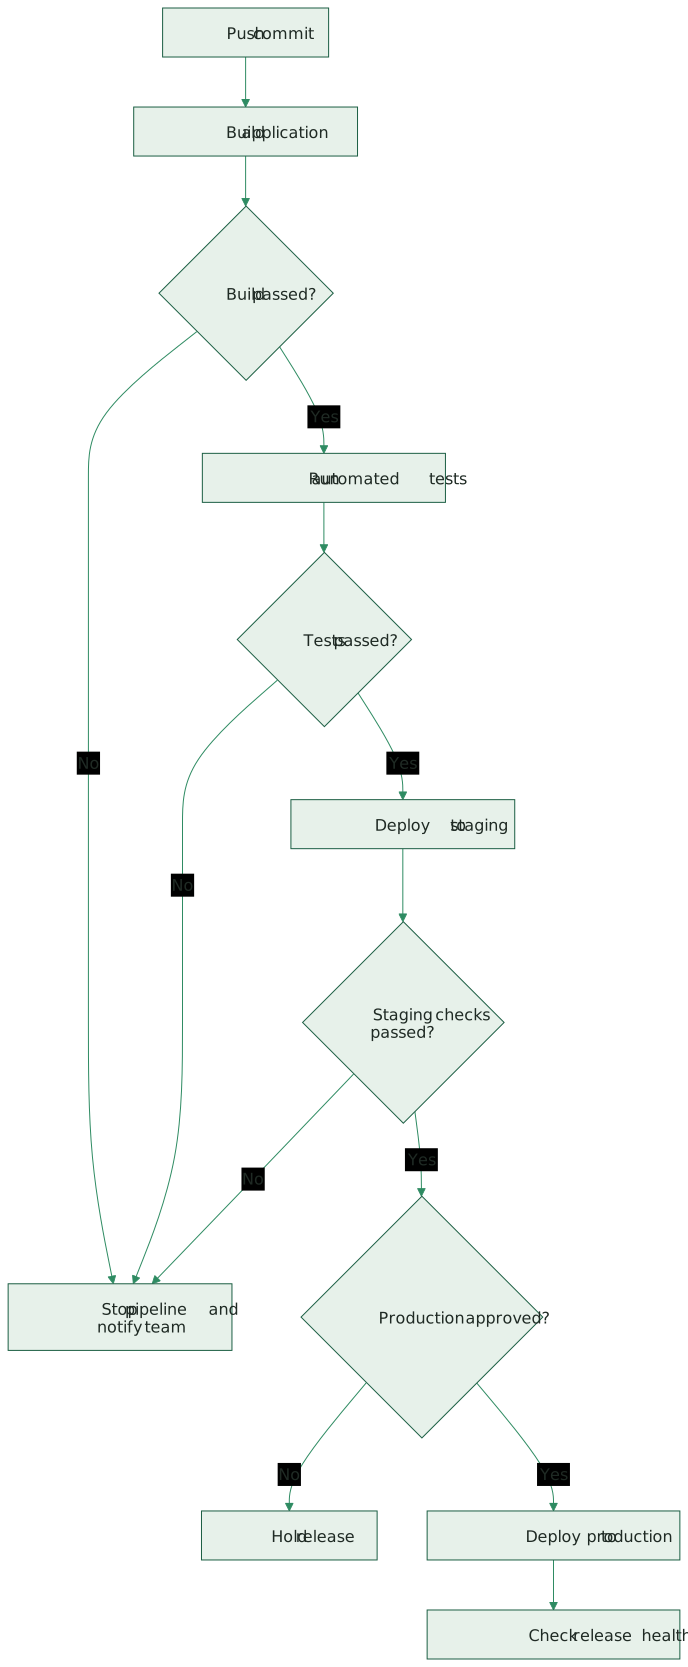
A commit triggers a build. Successful builds proceed to automated tests, and passing tests allow deployment to staging. After staging checks, the example requires a production approval. Failed build, test, or staging gates stop the pipeline and notify the team; an unapproved release is held. A health check follows production deployment, but this small template does not model its failure handling.
The flowchart TD declaration keeps the release stages vertical. Decision nodes such as C{Build passed?} show explicit gates. Several failure arrows share the node X, which describes the common stop-and-notify outcome. The separate Y node distinguishes a held release from a failed pipeline.
Adapt the template to your project
- Replace generic build and test steps with the jobs your pipeline actually runs. Add linting, security checks, or artifact publishing where they occur.
- Remove the manual approval gate if your deployment process is fully automatic. With that gate, this example describes continuous delivery with a manual production release.
- Add an explicit rollback or investigation branch after the production health check. Specify what constitutes failure rather than relying on a generic “healthy” label.
After changing the code, check the preview before exporting. In particular, check that each branch reaches the intended outcome and that labels remain readable at the size your audience will use.
What to check before sharing
Passing tests should not bypass staging checks or approvals that exist in your real release process. The diagram describes the workflow but does not enforce it; configure those gates in your CI system.
This template is useful for onboarding, release documentation, and reviewing deployment gates. It is intentionally platform-neutral and does not claim to match a particular GitHub Actions, GitLab, or Jenkins configuration.
Choose PNG, SVG, or PDF
Use PNG when a slide, message, or application needs a fixed-resolution image. Use SVG for scalable artwork where the receiving application renders the labels correctly. Use PDF for a document attachment, print, or an explanation with accompanying Markdown. The downloads above use the same diagram in all three formats.
For resolution, fonts, and page-layout trade-offs, read Mermaid PNG vs SVG vs PDF. For document sizing and orientation, see how to avoid cropped or blurry Mermaid PDF exports.